 This article is part of the Applied Cloud Stories initiative. Data assets of ASP.NET Core web applications are commonly stored in the
 wwwroot folder. Requests for static files then return files from this folder. Unfortunately, these files are by default served by the same server as the web application itself, which may add up unnecessary costs and performance penalty. In addition, this means your static files are served only from the region where the server is actually hosted, which may make the user experience worse, as styles and scripts may take longer to download. Luckily, we can improve this by utilizing Azure DevOps, Azure Storage, and Azure CDN. We will set up our release pipeline on Azure DevOps to automatically deploy the contents of wwwroot folder to Azure Storage and then point a Azure CDN to this storage account which will allow for super fast delivery of the files from the geographical location nearest to the end user.
Create Azure Storage account
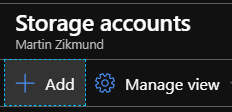
In the Azure Portal, search for "Storage accounts" resource type and then click the Add button to create new.
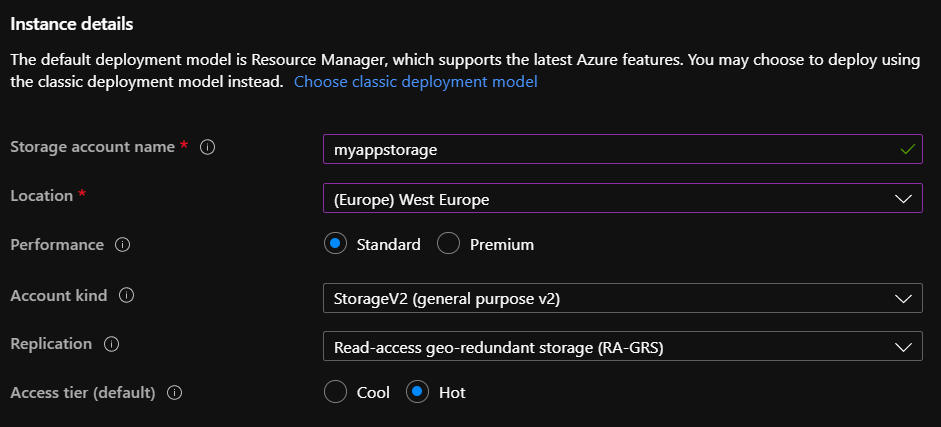
Fill out the details as required and create the resource.
Set up Azure DevOps release pipeline
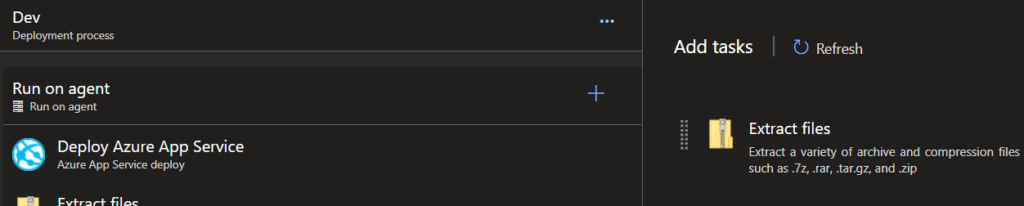
I suppose you have already a DevOps build pipeline which builds your ASP.NET Core application. In your release pipeline, you can deploy the web application as you normally would, but let's add additional steps to publish the contents of wwwroot folder to Azure Storage. Note you can also write the whole pipeline in YAML, if that is more convenient for you. Commonly the artifacts of ASP.NET Core app are in an .zip archive, so we first need to add a Extract files step:
Point the task to your app's archive and extract into a custom destination folder. My configuration looks as follows:

Or in YAML:
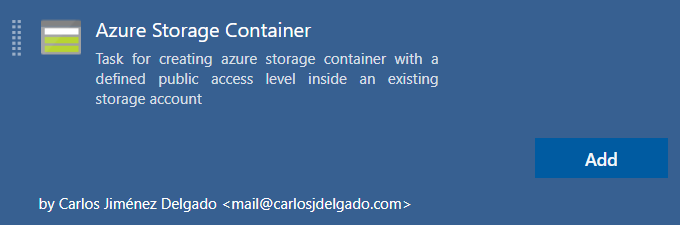
Next, we need ensure creation of an Azure Storage blob container, in which our files will be stored. This can be done manually in the Azure Portal, but to make our pipeline even more self-contained, we can do so with a task as well. In tasks, search for "Azure Storage Container". There are multiple tasks matching this search, and I am using this one made by Carlos Jiménez Delgado (you will need to install this task to your DevOps subscription first):
This task makes it very easy to ensure a container with required name exists and can also configure its public access level (we will need Blob read access. In the task settings, connect to your Azure Subscription and select the Azure Storage created in previous part.
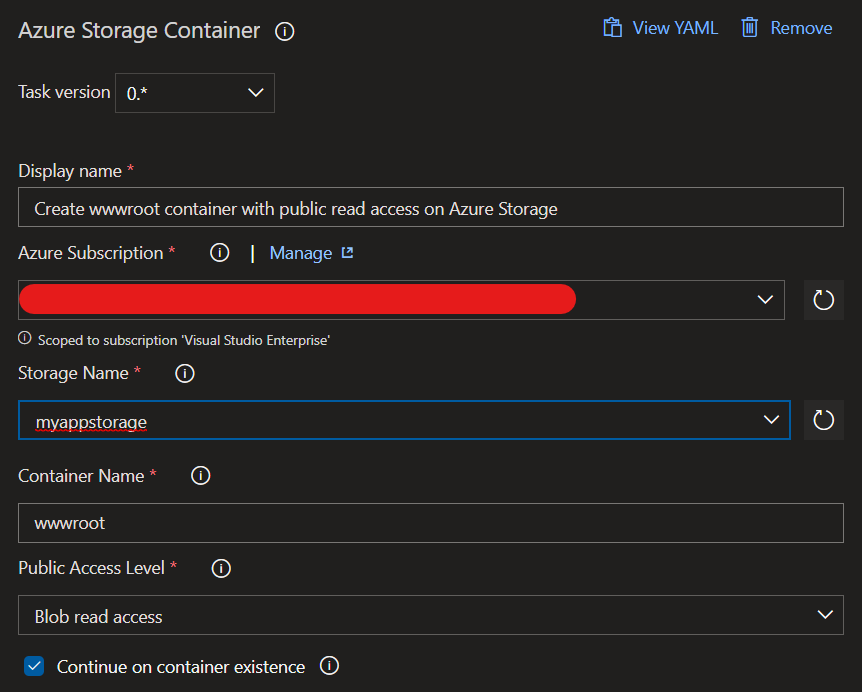
I named the target container simply wwwroot. Notice the Continue on container existence box is checked. This way, the task execution is skipped when the container already exists. In YAML talk:
Finally, we add a Azure File Copy task, which will copy our files to Azure Blob Storage.

Here we point the task to the extracted wwwroot subfolder and to our newly created wwwroot container.

The same in YAML:
And that's it! During the next release, the wwwroot folder contents should be replicated within the Azure Storage container. We could now stop and point to our Azure Storage directly, but we can go even further by adding Azure CDN.
Set up Azure CDN
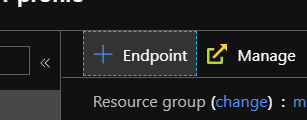
In Azure Portal, search for "CDN profiles". Click the Add button. In the new blade, set a name for your CDN, resource group, and a pricing tier. The choice depends on your requirements, in my case I have chosen Standard Verizon. Once your CDN profile is deployed, navigate to the new resource and click the Add Endpoint button in the top toolbar:
The endpoint represents the URL where the data will be surfaced and connects it to a origin, in this case Storage:
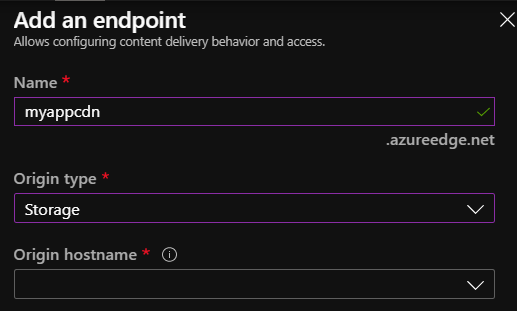
For Origin hostname, select your Azure Storage Account. Note you can even set Origin path to /wwwroot to point directly to our container, but if your prefer to use the Storage Account for other purposes as well (e.g. uploaded files from the website), it is better to keep it empty, so that all containers are accessible. After confirmation, the new endpoint will be created. Keep in mind that initially it might take some time (in my case around 30 minutes) before the connection becomes "active". Once ready, you can normally use the CDN to reach your Azure Storage blobs while knowing that CDN will keep the responses cached and replicated geographically efficiently. As an example, for a file with path wwwroot/styles/app.css, the Storage Account URL may look like this: https://myappstorage.blob.core.windows.net/wwwroot/styles/app.css And the CDN's URL may then be as follows: https://myappcdn.azureedge.net/wwwroot/styles/app.css
Next steps
To utilize this functionality in full, make sure to update your ASP.NET Core app's links to use the Azure CDN URLs in production. In Razor you can do so easily using the <environment> tag helper. In general, all static images, styles and scripts can be surfaced by Azure Storage/CDN. Finally, to make the CDN endpoint URL more aesthetically pleasing, you can set up a custom domain for it.