This article is part of the fourth annual C# Advent by Matthew D. Groves and Calvin A. Allen. Thank you for organizing this! The Game of Life is an interesting yet simulation of the evolution of living cells, that was devised by British mathematician John Conway in 1970. A few months ago I saw a blog post by Khalid Abuhakmeh with a C# console implementation, which was then followed up by a Blazor version by Matthew Jones. And today we will build the Game of Life in C# and XAML with Uno Platform, and make it run everywhere - on Windows (10, 7), Android, iOS, macOS, web, Linux and Tizen!
Rules of Game of Life
The Game of Life consists of a 2D grid of squares, each representing a "cell" which is either alive or dead.
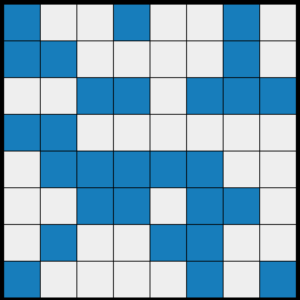
After setting an initial configuration, the game unfolds through steps called generations. In each generation, the cells shift between the alive and dead states based on four simple rules:
- Any alive cell with less than two alive neighbors dies of underpopulation
- Any alive cell with two or three alive neighbors remains alive
- Any alive cell with more than three alive neighbors dies of overpopulation
- Any dead cell with exactly three alive neighbors becomes alive by reproduction
For example see the following example:
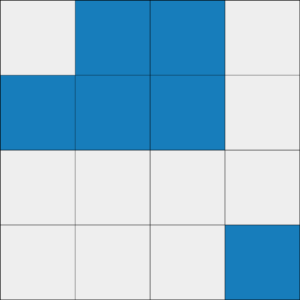
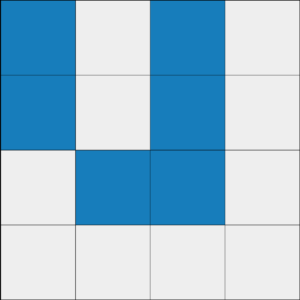
The top-left cell is dead but has exactly three alive neighbors. Applying rule 4 it will become alive in the next generation. The second cell on the top row is alive, but has four alive neighbors - this means it will die of overpopulation as per rule 3. The third cell on the first row is alive and will stay alive, as it has three alive neighbors, rule 2. Finally, the last cell on the last row has no alive neighbors, hence it will die of underpopulation by rule 1. Once we apply the rules to all cells, the next configuration will look like this:
Now that we know how it works, let's implement it!
Creating the solution
I have installed the Uno Platform Solution Templates for Visual Studio, which gives me the Cross-Platform App template.
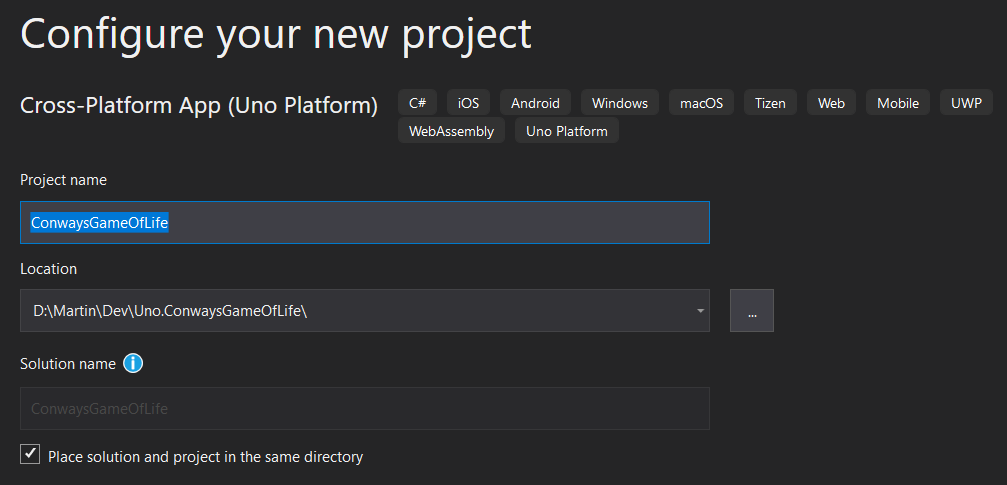
This creates a new solution with all the platform targets that Uno Platform supports. As I am using the latest and greatest version of Uno Platform templates (3.3), it has Android, iOS, macOS, GTK, Tizen, WPF, UWP and WebAssembly support.

All our code will go in the Shared project, as there will be nothing platform-specific.
Game logic
Let's first implement the game logic. As described, each cell has two possible states - dead and alive. We could use simple binary numbers, but for better readability, let's use an enum:
Now we need a class to represent the game state. The 2D grid is best represented by a 2D array:
To make generating an initial configuration easy, let's add a Randomize method:
This simply generates a random cell state for each cell of our grid. Let's implement the transition from one generation to another:
The Tick method uses a second 2D array _nextGeneration to construct the next state of the Game of Life. To avoid allocating a new block of memory each time Tick is called, we keep the second array and reuse it next time. For each cell, we first calculate the number of alive neighbors using CountAliveNeighbors. This simply looks at all eight neighbors of the cell (by testing offsets -1, 0 and 1 for both coordinates, and skipping the tested cell itself) and adding up the values. Because our enum has value 0 for Dead and 1 for alive, we can simply sum all the neighbors to get our alive count. With the number of alive neighbors in hand, we can apply our four rules and then store the next state in the _nextGeneration array. Finally, we swap Cells and _nextGeneration. The code swaps using the cool value tuple syntax, which is basically equivalent to:
And that's the whole logic! Now let's build our UI.
Building the UI
Let's start working on the user interface. What will we need?
Button to start the game
Button to "clear" the board (e.g. set all cells to dead state)
Button to advance to the next generation
Number box to choose the game board size
Toggle to switch auto-play on and off
Game canvas
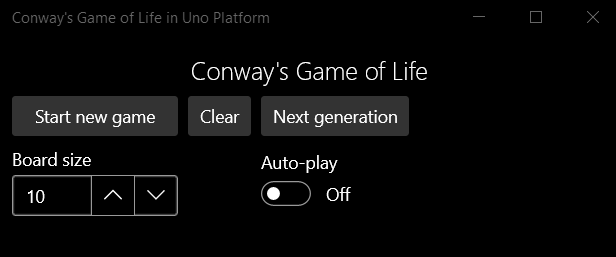
Based on these requirements, here is a simple XAML layout:
You may notice I have already included several x:Bind statements there, which we will wire up in a moment. Please remove them from your code for now, and re-add them gradually as we implement the required methods. For now, the design looks as follows:
Code-behind
The last piece of our puzzle is to implement the code-behind. First, the StartNewGame method:
The method checks if we are trying to start a new game with new board size. In such case, it creates a new GameState accordingly and prepares the grid and layout. Afterwards, it randomizes the game and renders it. Let's look at the missing methods in turn. PrepareGrid will initialize the required Image elements that will be used to render the 2D grid of cells:
We use List<Image> to cache the cell images and create them on demand when a bigger board is needed. The LayoutGameBoard method takes the Image elements and lays them out into a regular 2D using Canvas absolute positioning:
We leave a one-pixel space between the cells, setting their actual size to cellSize-1. Finally, let's implement the RedrawBoard method:
This simple method sets the Image.Source for each cell based on its current state. I have added two simple solid square png images in the Assets folder in the Shared project:
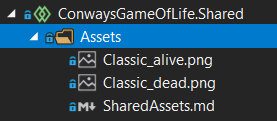
If you don't want to create your own images, you can download them from my sample project here on GitHub. We can now launch the app and try out the Start new game button. We can even choose a custom game board size!
The Clear button is quite simple and requires just a single method Clear:
The GameState.Clear method only sets all cells to "dead" state:
The Next generation button is super simple:
The GameState class handles the logic and we just redraw the game board afterwards. Easy-peasy!
Auto-play
The auto-play toggle will automatically step through generations in one-second intervals when turned on.
When we toggle the ToggleSwitch on, we start the timer, otherwise, we stop it. We attach the Tick event handler in the page constructor. The handler just calls GameState to advance to next generation and redraws.
Tapping on cells
To make the game more interactive for the user, we can allow toggling the state of the cells by tapping them - essentially allowing the modification of state mid-game.
Notice we use the index of the Image in our cache and calculate its row and column based on the result.
Adding themes
To make things more interesting, we will introduce themes to switch between various images to display. First, let's make an enum with supported themes:
In the main page's code-behind, we will expose the list of themes and create a property for the currently selected theme:
The UpdateBitmaps method will load the bitmaps accordingly, based on the enum value:
Finally, let's add a ComboBox to our UI to allow user selection:
And voilà, we can now switch between themes! In my sample, I am using beautiful icons made by Icons8, thanks!
And it runs everywhere
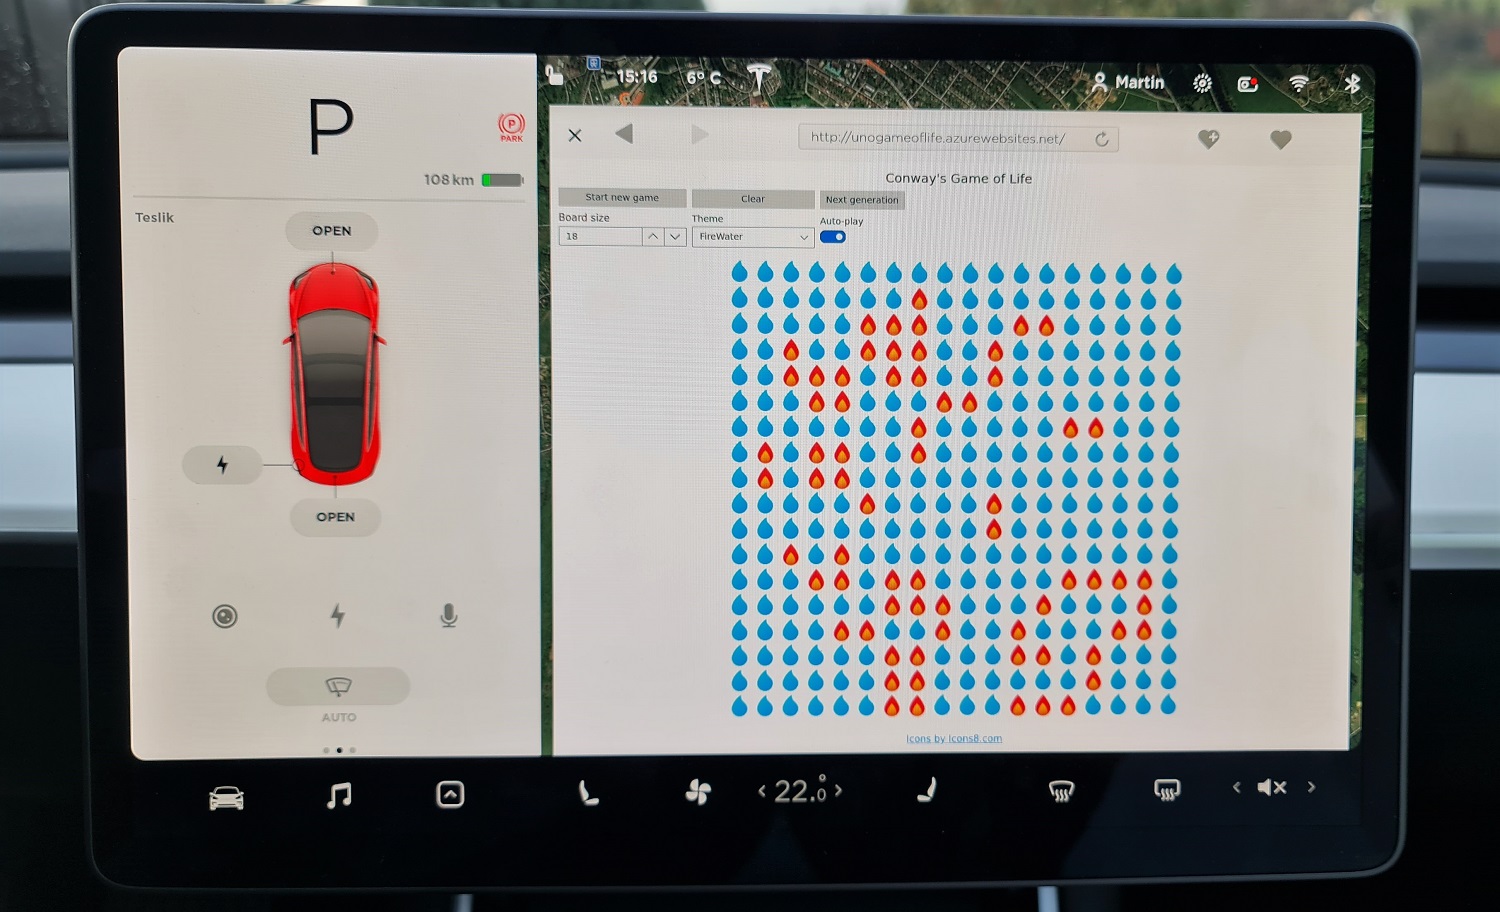
Of course, the ultimate beauty of all this is that thanks to Uno Platform, this app will now run absolutely everywhere - mobile, web, desktop, you name it. And because Uno supports both dark and light theme, it respects the OS theme on each device too! Note: SkiaSharp-based rendering is still in preview, so NumberBox value rendering is not yet working. This is coming soon! [gallery type="slideshow" size="large" ids="2493,2488,2487,2491,2489,2501,2492,2490"] And of course, here it is also running in the Tesla browser ⚡ :
Live demo
The resulting app in Uno Platform WebAssembly running on .NET 5 and Microsoft Azure is available here!
Fun shapes
Now that the app is complete, we can play with different configurations of the Game of Life and discover fun patterns. For example, let's build a spaceship:
Or if you like something more elaborate - a pulsar:

You can search the internet for many more interesting patterns and combinations or unleash your own creativity. Try it out on the live demo and share your creations on Twitter, using hashtag #unolife ?
Source code
The sample code for this article is available on my GitHub. Feel free to clone, fork and update any way you like!